Common pitfalls when installing HVAC outdoor sensors

This is the third in a series of three blog posts looking at common pitfalls when installing HVAC sensors, focusing on physical measurement errors that are caused by incorrect installation. This post focuses on outdoor humidity and CO2 sensors. Outdoor sensors are affected by weather and solar radiation and are installed in lower numbers, meaning many errors in their installation could be down to lower levels of familiarity.
Solar radiation
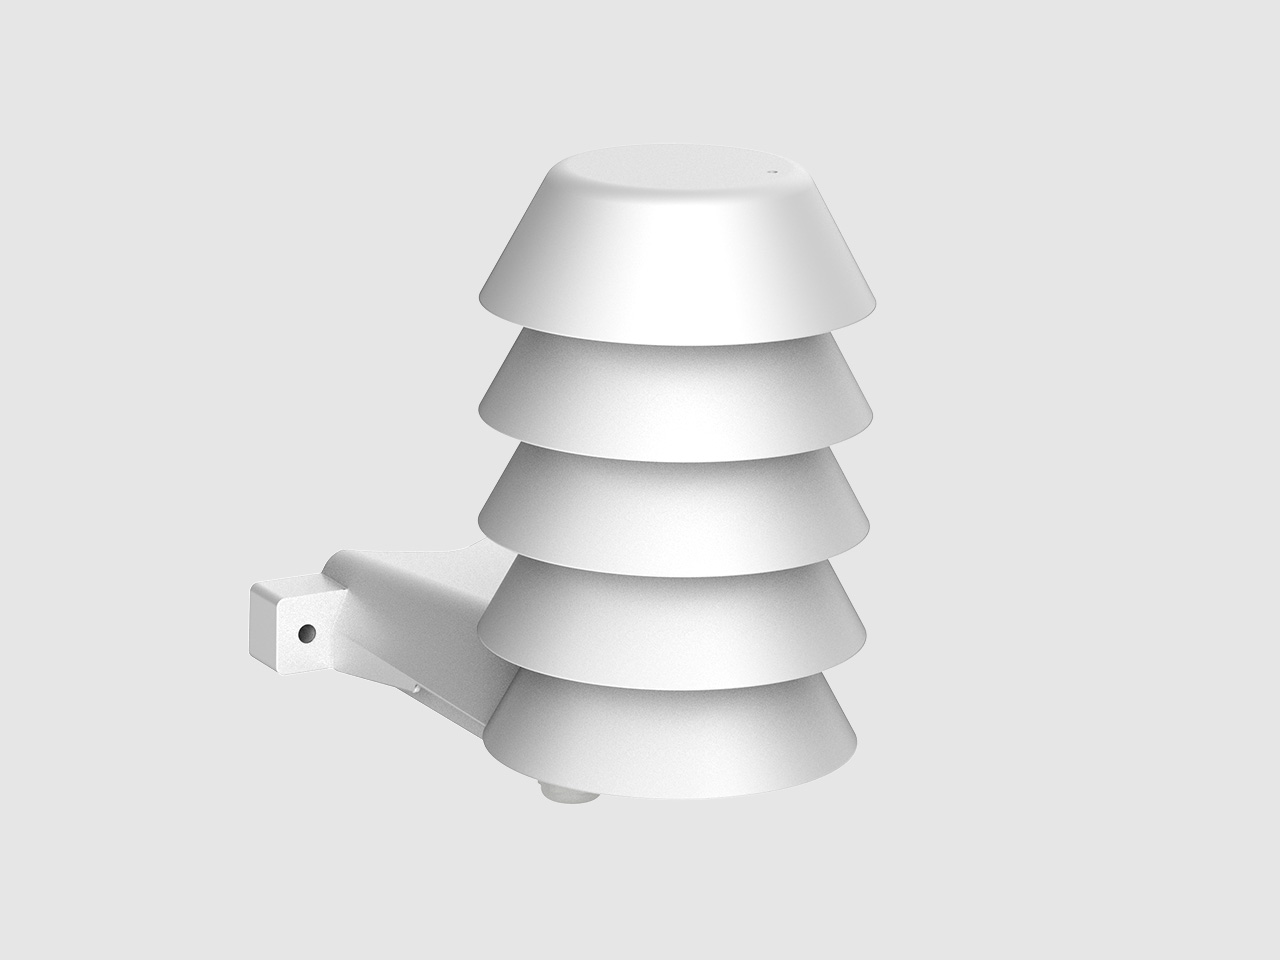
It’s important to have a sensor with a proper radiation shield – if you use a low-quality solar radiation shield, sensors will heat up significantly, causing inaccurate measurements. It is also important to check that the surfaces under the plates in the radiation shield are black. See Figure 1 below.
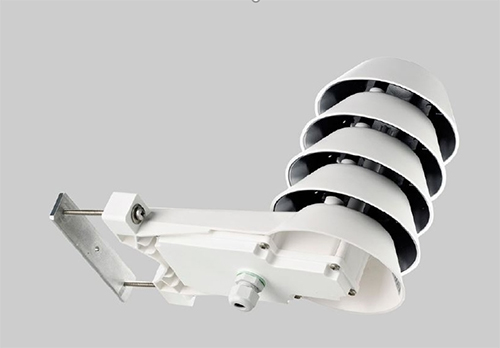
If the underside of these plates is white, the radiation shield will not function correctly, which will increase the heating effect from solar radiation. As radiation shields can also get dirty, especially in urban environments, which may increase the heating, it is a good idea to clean the radiation shield and sensor from time to time to maintain measurement accuracy.
Location
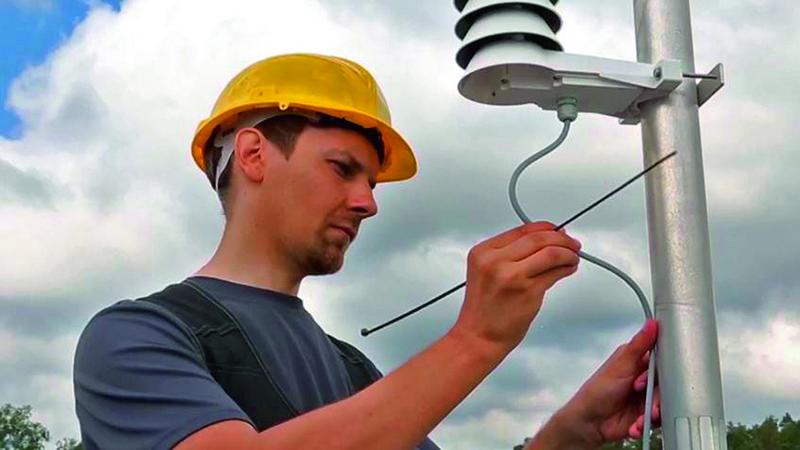
To reduce any heating effects, outdoor HVAC measurement sensors should be mounted in a location where air flow and wind is unhindered, ideally on a pole completely away from any buildings, or on the roof. For wall-mounted sensors a north-facing wall is better, but walls do heat up with solar radiation, warming the surrounding air which then flows up into the sensor, causing measurement inaccuracies. Avoid dark surfaces, and do not mount sensors under the eaves although it’s sometimes recommended by manufacturers who haven’t used proper radiation shields in their products. They do this to reduce the effects of solar radiation by ensuring their sensors are not exposed to direct sunlight. What actually happens is sunlight heats up the wall and hot air then accumulates under the eaves, causing inaccurate and unreliable measurement results.
Exhaust air ducts
A frequent installation mistake is mounting an outdoor sensor a little bit too close to an exhaust air duct. This allows exhaust air to enter into your outdoor sensor, which then measures the exhaust air instead of the ambient conditions.
If you are measuring carbon dioxide outdoors to balance your air flows, you should avoid mounting your sensor in a dead space: good air flow is vital. This is a mistake that is often made in car parks. Cars are a major source of carbon dioxide, and if you have dead space you can have elevated CO2 concentrations that are not at all representative of the outdoor air. If you’re measuring outdoor CO2, mounting in an open location and close to the air inlet is recommended.
CO2 is measured in order to achieve the correct air-flow rates in rooms. The difference between the outdoor and indoor CO2 concentrations is used as a proxy for occupancy – how many people are in the space you’re trying to control. For example, if you have an outdoor CO2 sensor, heavy traffic will increase the CO2 level. This level is compared with the reading from an indoor CO2 measurement sensor, which could be installed, for example, in the return air duct (Figure 2).
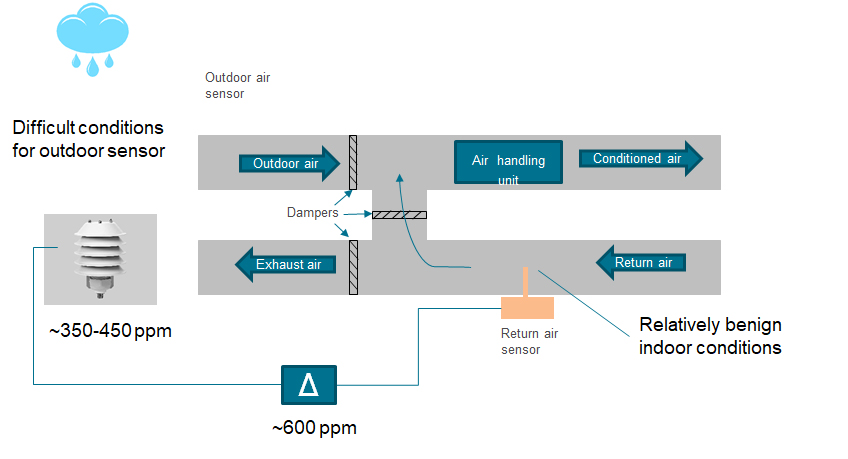
The actual difference between these two sensors, which you’re typically trying to control to about 600 ppm, is used to determine how much fresh outdoor air you need and how much of it can be reconditioned for humidity and temperature. By avoiding using too much fresh air, you can save a lot of energy in some cases, especially if you need to significantly dehumidify the air before you can use it.
It’s a good idea to choose one high-quality CO2 sensor designed for outdoor use and use its signal to balance all the different areas inside your building, each of which have an indoor sensor of their own. This helps you ensure that your outdoor sensor is maintained properly, and means you can afford to install a high-quality one that will not drift over time. As it’s actually quite a small measurement range that you need to measure outdoors, to do that properly your sensor also needs to fully compensate for temperature variations. It also needs to have higher accuracy and stability than sensors used for indoor measurements. If the outdoor CO2 sensor drifts, it will change the air flows to the building.
Weather
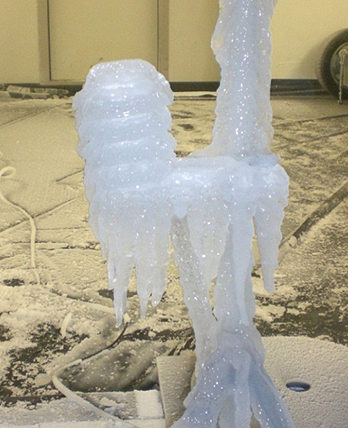
The weather isn’t always sunny; there’s also rain, snow, and various other kinds of bad weather to take into account. When it rains, for example, water will get on the sensor, which may cause drift or humidity readings that are too high. Good air flow will cause water to evaporate and ensure reliable measurements. But if you need to have 100 percent-accurate readings for mission-critical applications, you can also consider a setup with probe heating. This will keep the sensor dry at all times, but will also require an extra temperature measurement because the heated sensor will not measure the ambient temperature correctly, just the humidity. In addition to rain, there can also be high winds, so the sensor should be able to withstand icing and high wind speeds. Figure 3 shows an outdoor sensor with a heavy buildup of ice after a freezing rain test – I can happily say that Vaisala sensors are easily able to cope with this kind of treatment.
Choosing a good-quality sensor specifically designed for outdoor installation will help to mitigate the effects of bad weather.
Take a look at some of our HVAC outdoor sensors below or use these direct links:
HMDW110, suitable for relative humidity, dew-point, enthalpy, wet-bulb temperature and temperature measurement in demanding HVAC applications
HMS110, ideal for cooling tower control and differential enthalpy control of economizers

Add new comment